Thinking about installing artificial grass in your yard? Smart move. It’s low-maintenance, eco-friendly, and looks great year-round. But before the lush green rolls out, your yard needs a bit of prep work to ensure the best results. Whether you’re hiring professionals or taking the DIY route, here’s how to properly prepare your outdoor space for artificial grass installation.
Step 1: Clear the Area
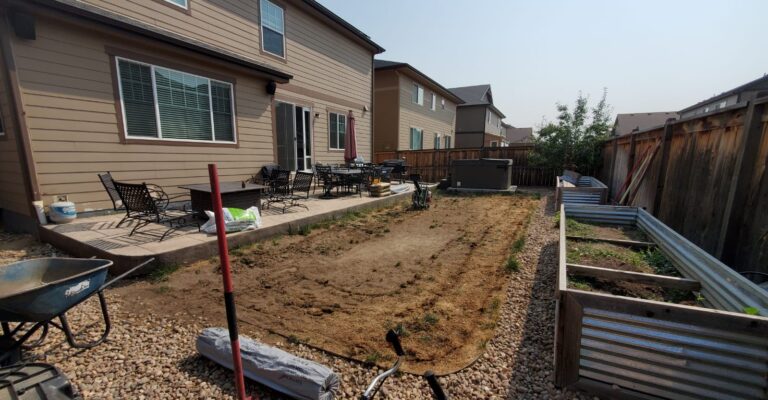
Start by removing any existing grass, weeds, plants, and debris from the area. Use a shovel or turf cutter for large spaces to ensure all roots are removed. Any organic material left behind can decompose and create uneven surfaces or encourage weed growth under your turf.
Pro Tip: Don’t forget to remove rocks, roots, and other obstructions that may interfere with a smooth base.
Step 2: Assess Drainage
Artificial grass doesn’t absorb water like real grass, so proper drainage is crucial. Make sure the area naturally slopes or has a slight grade to allow water to flow away from structures. If your soil retains water or you live in a rain-prone area (hello, Florida!), consider installing a sub-drainage system to avoid pooling.
Step 3: Install a Weed Barrier
Laying a high-quality weed membrane prevents unwanted growth from pushing up through your turf over time. This layer is essential for long-term turf health and aesthetics. Place the weed barrier directly over the cleared ground before adding any base materials.
Step 4: Build the Base Layer
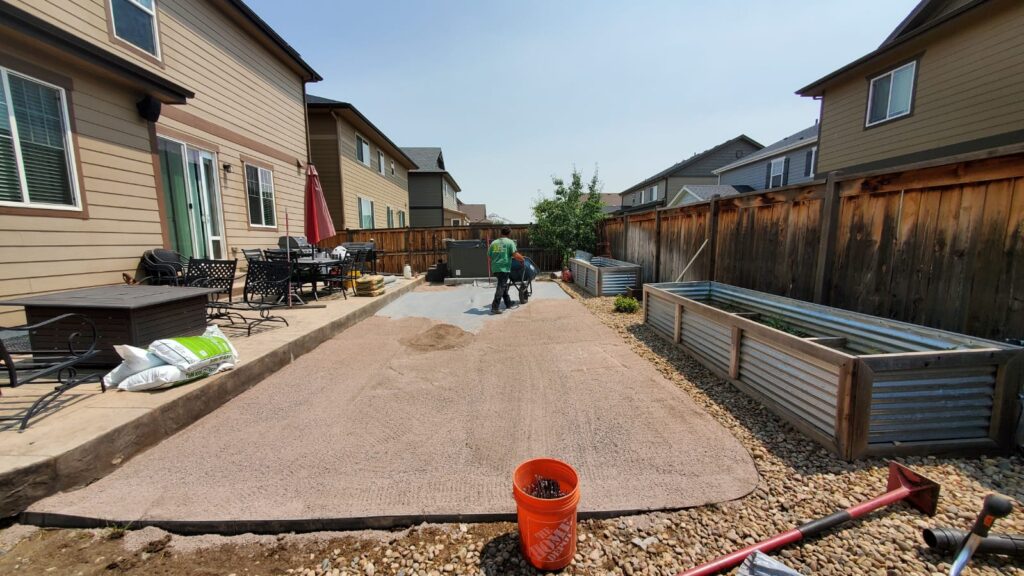
A strong foundation is key to a flawless finish. Most artificial grass installations require a 2–4 inch base layer of crushed stone, gravel, or decomposed granite. This material helps with stability and drainage. Spread the base evenly across the area and compact it using a plate compactor until it’s firm and level. This step helps avoid future dips and uneven spots in your lawn.
Step 5: Level and Smooth the Surface
Use a rake or screed board to smooth the compacted base and double-check that it slopes slightly for water runoff. Walk over the area and fill any soft spots. The goal here is to create a flat, stable surface that mimics the final result.
Step 6: Apply a Sand Layer (Optional)
Some installations include a thin layer of sharp sand (about 10–15mm) above the compacted base for an ultra-smooth finish. This isn’t mandatory for every yard but is often used to help fine-tune leveling before laying the turf.
Step 7: Final Check Before Installation
Walk the area and inspect everything—base firmness, drainage slope, and surface smoothness. It should feel solid and even underfoot, with no loose gravel or obvious dips.
Ready for Turf!
Once your yard is fully prepped, it’s time to roll out the artificial grass, secure it, brush it in, and enjoy a beautiful, green lawn that requires virtually no maintenance.
Proper yard preparation ensures your artificial grass not only looks good on day one but stays beautiful for years to come. Invest time in the groundwork now, and you’ll enjoy all the perks of a pristine, green lawn without the headaches of upkeep.

